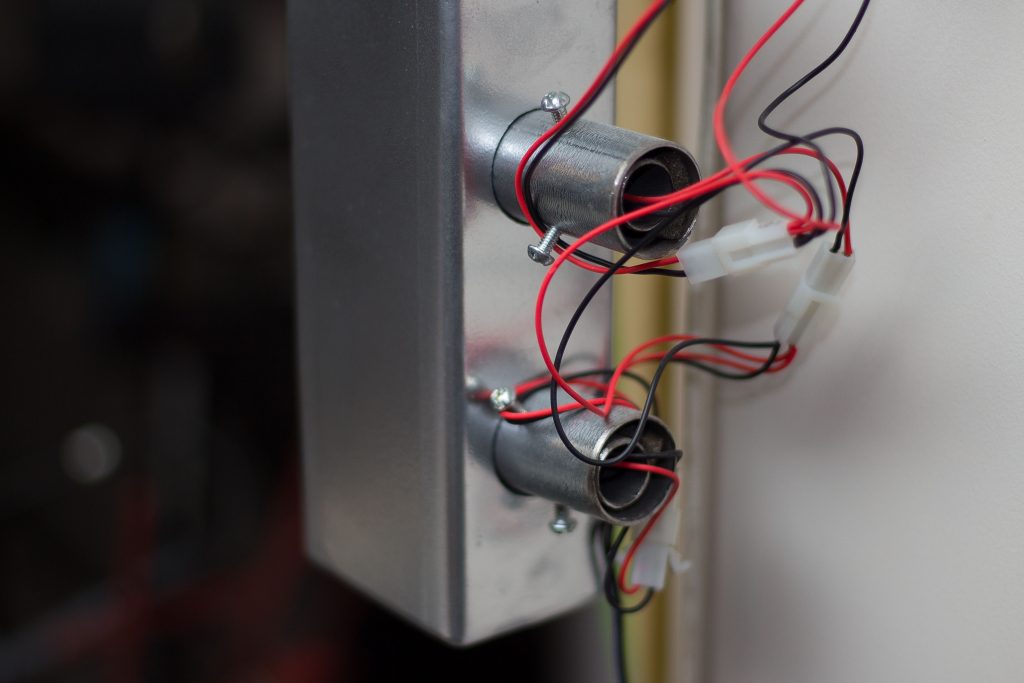
The laserHarp is another Arduino based project. This is also a great excuse to buy a fog machine.
Changing the light level changes the resistance of the photo-resistor.
Essentials:
8 laser pointers aimed at 8 photo-resistors. A laser on the photo-resistor means ‘note off’; while no laser on the photo-resistor means ‘note on’.
A simple voltage divider circuit (x8) is connected to the Arduino digital input pin (x8). Changing the light level changes the resistance of the photo-resistor. When the Arduino detects a ‘high’ signal, the assigned MIDI note is sent out to external equipment, such as a synthesizer, drum machine, computer, etc.
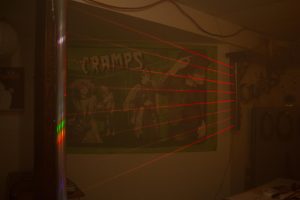


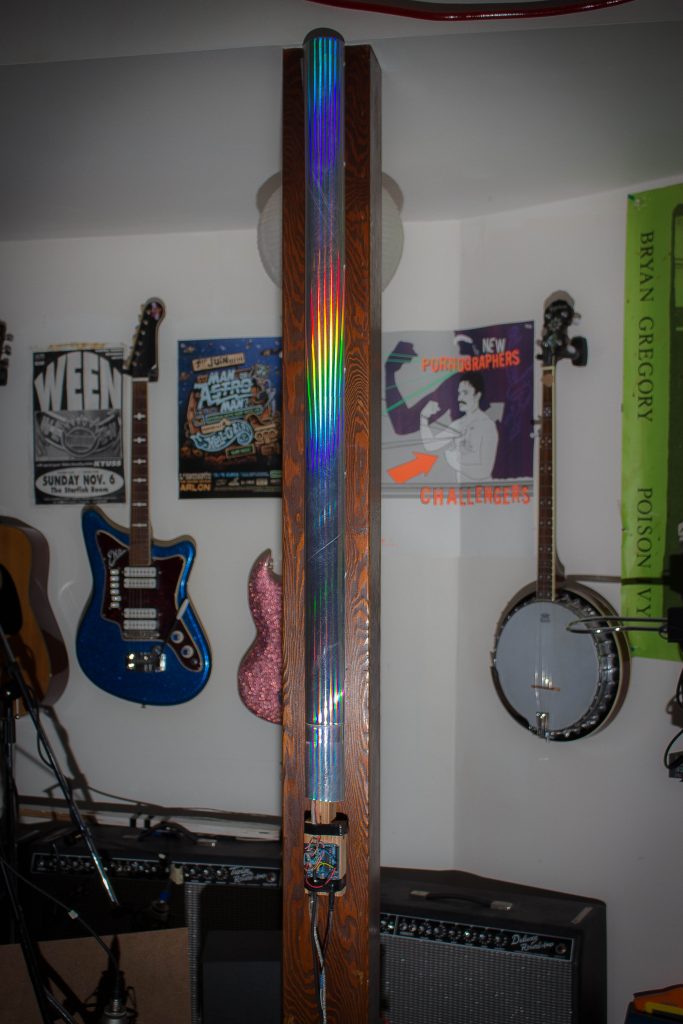
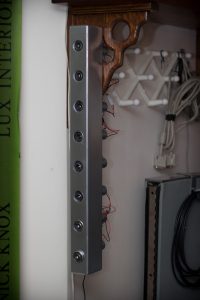
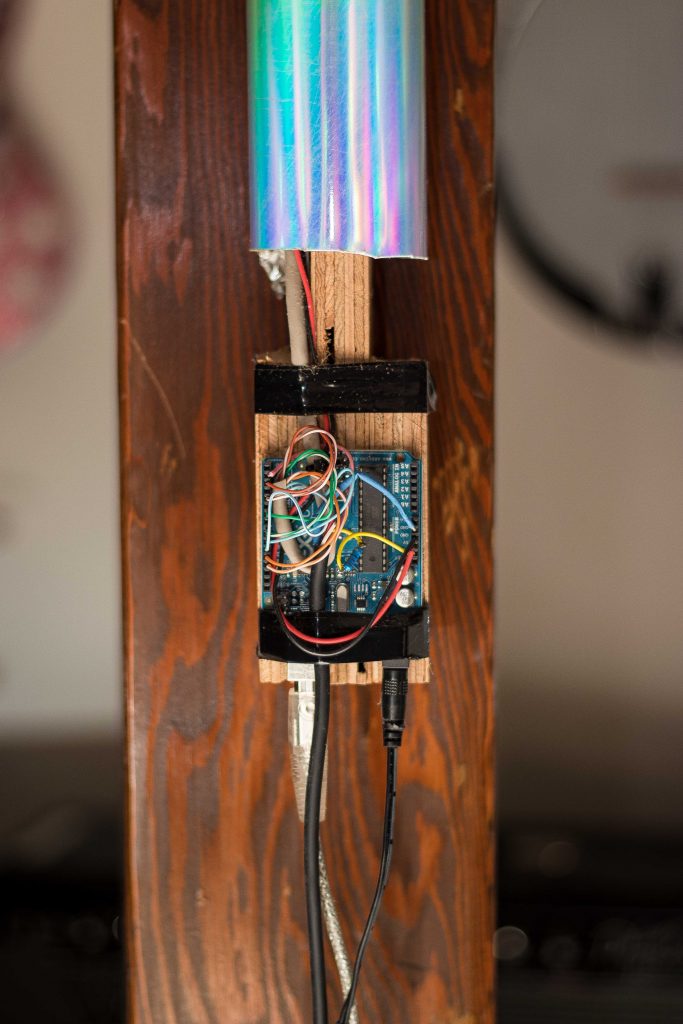
The hardest part is aiming the laser pointers – they each must hit their respective photo-resistor target. The mechanical method which solved this was to put the pointers in tubing (thin electrical conduit), then put this in another piece of tubing (thick electrical conduit), and use set screws to aim the inconsistent lasers. Because of the aiming requirements, this is best mounted to permanent, sturdy structures.
Another challenge was powering the laser pointers. The existing batteries were replaced with a wallwart, and all the laser pointers were powered together, with the existing push button switches bypassed.
VIDEO:
CODE:
|
1 2 3 4 5 6 7 8 9 10 11 12 13 14 15 16 17 18 19 20 21 22 23 24 25 26 27 28 29 30 31 32 33 34 35 36 37 38 39 40 41 42 43 44 45 46 47 48 49 50 51 52 53 54 55 56 57 |
/* --laserHarp-- http://creativetechnical.ca/laserharp/ 8-note MIDI player create 8 voltage divider circuits involving photoresistors digital HIGH plays note MIDI jack pin 5 connected to Arduino pin 1 (TX) MIDI jack pin 2 connected to ground MIDI jack pin 4 connected to +5V through 220-ohm resistor Attach a MIDI cable to the jack, then to a MIDI synth, and play music. Replace the 'notearray' values to play different notes (decimal values) http://www.midimountain.com/midi/midi_note_numbers.html */ #define LASERCOUNT 8 // number of lasers #define MIDICMD_NOTEON 0x90 // MIDI command (Note On, Channel 0) #define DELAY 1 // variable for delay (in ms) byte pinarray[LASERCOUNT] = {12,11,10,9,8,6,4,2}; // pins connected to voltage dividers byte notearray[LASERCOUNT] = {57,60,62,64,67,69,72,74}; // A,C,D,E,G,A,C,D byte playarray[LASERCOUNT] = {HIGH,HIGH,HIGH,HIGH,HIGH,HIGH,HIGH,HIGH}; ////////////////////////////////////////////////////////////////////////////// void setup() { Serial.begin(31250); // Set MIDI baud rate } ////////////////////////////////////////////////////////////////////////////// void loop() { // Loop through 8 inputs and find one that is different to how it was before // if it is HIGH, then note on, LOW then note off.. for (int i = 0; i < LASERCOUNT; i++) // count from 0 to 7 { if (digitalRead(pinarray[i]) != playarray[i]) // if an input has changed state { if (playarray[i] == HIGH) { SendMIDI(MIDICMD_NOTEON, notearray[i], 127); // play note } else { SendMIDI(MIDICMD_NOTEON, notearray[i], 0); // silence the note } playarray[i] = !playarray[i]; // put the present value in playarray } } delay(DELAY); } ////////////////////////////////////////////////////////////////////////////// void SendMIDI(char cmd, char data1, char data2) { Serial.print(cmd); Serial.print(data1); Serial.print(data2); } |

